Hello!!! I have been a very bad blogger, and for that I apologize! It has been quite some time since we have updated or posted anything here, but don't worry, there are still many videos being posted over on Youtube and photos posted in Instagram (sporadically). I am - finally - back here with another blog post. This layout I created using mostly the Crate Paper Cute Girl Ephemera pack. I just can't get enough of the adorable acetate elements and the colourful pieces included in this collection.
As I started this layout, I had already decided that I wanted to concentrate the elements vertically above the centre of the page. I started with the white side of an "ugly" paper and prepped it with Gesso. Then I took some of my Heidi Swapp Colour Shine in purple, pink and teal and applied them each with the packaging technique allowing the colours to dry in between. Then I matted my photo with papers from an old Studio Calico kit and some pink tulle. Then, I got to work on selecting the embellishments.
I rarely use mixed media but I think this was a good way to get into it. I knew most of it was going to be covered so I wasn't too worried that it didn't look "right". There is no right way to do mixed media but it can be a little overwhelming and intimidating. I suggest starting with the intention that you may only want a little of it peeking through, depending on the look you are going for.
I had a lot of fun creating this layout and really like the way it turned out! Have a look at the video for the entire process and let me know what you think.
Hello everyone, and welcome to 3Scrappy sisters. This post is a little late as I have been slacking on due to summer holidays! The kids are home and I find myself spending a lot of time by the pool, not wanting to do much... or we're inside cleaning up, or out and about with kids baseball, karate and the hubby's and my baseball. Anyhow, no excuses! I have two process videos to share today. The first I used the Felicity Jane "Summer" kit and the July 1st, Stuck?! Sketches sketch. Please let me know what you think. Here is the layout:
The process video is here:
The second layout was also created with the Felicity Jane "Summer" kit. I made a little boo-boo with the background and then needed some more embellishments to cover it up, so I opted to use some of my older Felicity Jane kits. I pulled from "Caroline" and "Willow". Let us know in the comments below what you think! Here is the finished product:
And the process video is here:
Please Enjoy :) Hope to bring you another video on Thursday! Have a GREAT week! xo Imelda
Wow! I have been a bad blogger... I haven't had the chance to come and link some videos has I have been busy with end of the school year stuff at home and at work. Since the last post, many videos have been posted to our YouTube channel.
Here is the latest one. I created this layout for the Stuck Sketches June 1st challenge. Follow this link to see the original sketch. Here is the process video. The layout was created using the Felicity Jane "Willow"kit.
Thank you so much for looking! See you in the next post - yes they will come more often than they have been! xo Imelda
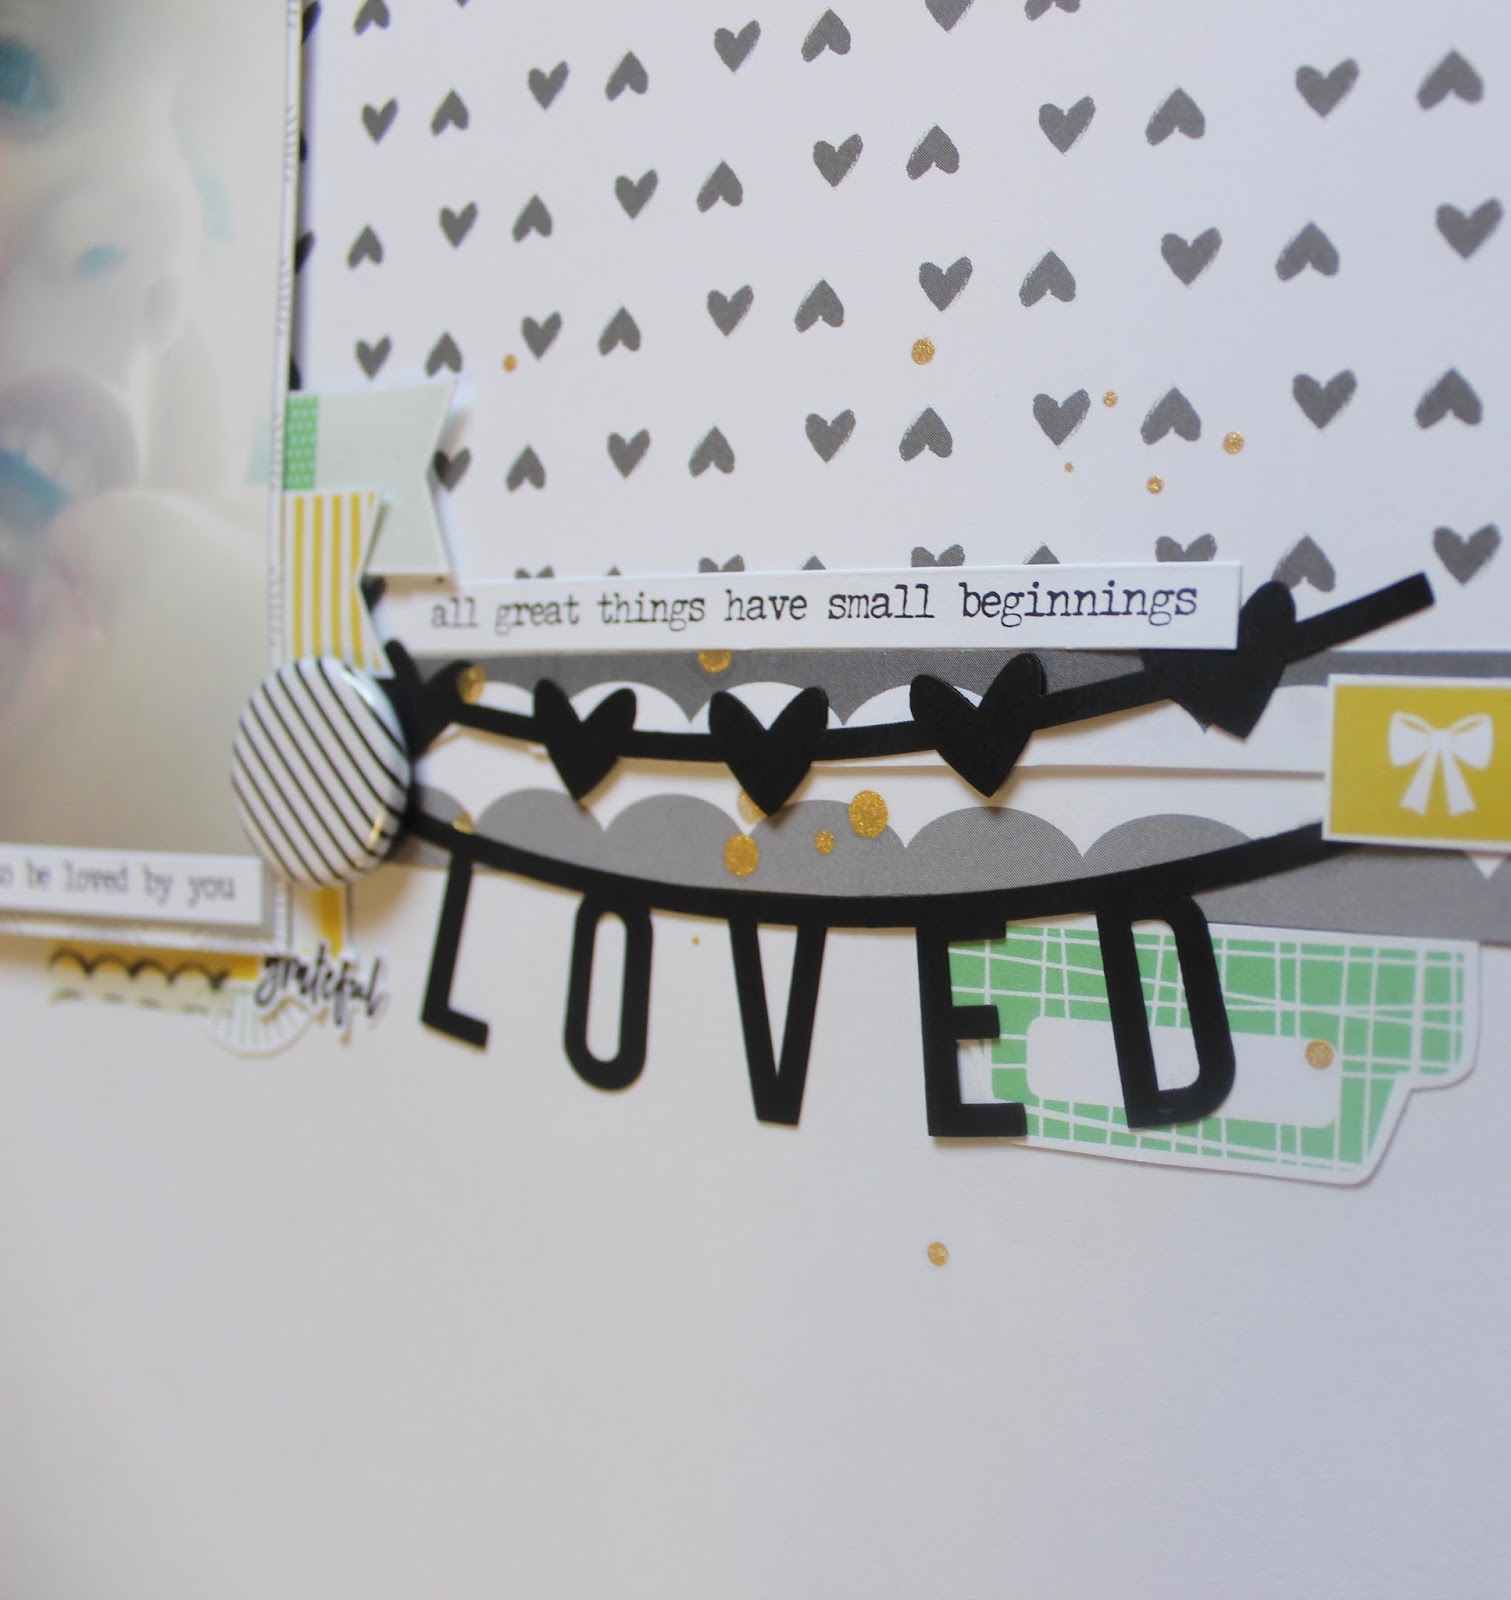
Hello everyone and thank you for visiting our blog today! I am excited to bring you another 12x12 layout I have created using the Felicity Jane "Jane" kit. I don't usually turn to green and yellow colour pallet, but the green of my son's shirt in the photo and the beautiful green paper with the hearts was all I needed. :)
I went for a very simple design and kept the patterns and embellishments in the top third of the page. Much like I did for my previous two FJ layouts, I used the stamped images that I had pre-stamped and cut, as embellishments. It absolutely helps me make use of them. I will be doing that with my next kit as well! Let me know if you try it too!
I absolutely adore these black die cut pieces, and almost hoarded them, but the strong black against the grey of the patterns was too beautiful to resist. I also love the contrast it had against the bright glare in the photo. Again, not the most perfectly taken photograph, but I like it. :)
Here is the finished product. Let me know what you think!
I hope you have enjoyed the two layouts every Thursday last month. I enjoyed creating them! I am hoping to continue posting two layouts every week, although there will only be one on Thursdays, and I have decided to start a new series on Saturdays. Tune in this Saturday for the first video of our new series "Smash your Stash Saturdays." In the meantime, check out this process. :)
Thanks so much for visiting and looking! See you for the next process! xo Imelda
Hi everyone! Hope you have all had a great week! I am back today with another TWO 12x12 layouts! I am absolutely loving the Felicity Jane kits. This is the second kit I have received! Both layouts included below have been created using the gorgeous Jane kit! I felt right away that I loved this kit, but was a little weary and definitely felt the challenge since there was quite a bit of green included this month. Green is not typically my colour, however I just love love love the mint green! Maybe I'm just into the pastels? Anyhow, for the first layout, I knew that I wanted to use the Gold thickets, but with the green I did not want the layout to look too St. Patty's-like. As you can see in the process video, I did include the bright green, but place velum over it in order to soften it. Then, I placed the title with the gold thickets and it didn't give me the leprechaun feel. SCORE!
I was able to use lots of the stamps that were included in the kit, only because I decided to stamp them ahead of time and fussy cut them! I used them as embellishments instead! I really loved the way they came out and I feel that I ended up using them more than I would have, if I hadn't done so.
Stamping them and fussy cutting allowed me to use them as layering pieces as well!
I added some Heidi Swapp Colour Shine in gold, as well as some Studio Calico rub on stars, which matched perfectly with the gold confetti pieces and thickets included in the kit.
I messed up near the end of the process but I was able to fix it! Check out the video to see how I was able to solve my little mishap. I tried with the journalling, but ended up placing the journalling near the bottom as you can see.
The second layout I chose to scrap a photo of my sisters and I. Here's a look at all three Scrappy Sisters!
I started with some texture paste and a stencil that I created with my Silhouette Studio software.
I loved mixing the wood veneer textures with the colour of the fussy cut flowers. And the cut out of Jane was just perfect with her curly hair, she reminds me of my sister Emma! The only parts that were not included in the Jane kit were the doily, gold Heidi Shine, texture paste, Tim Holtz word stickers and this little pink label. This pink label came from the previous month's kit "London. "
I still have quite a lot of bits and pieces from the London kit and am leaving them out on my desk until I use most of it up. I love these kits so much and we are so lucky that they still coordinate so well together. I really enjoyed creating two layouts a week, and hope you enjoyed the posts as well as the videos. I am hoping to continue posting two videos a week, possibly a Stash Busters Saturday and Lay It out Thursday. Please let me know what you think, would you love to see something else from us? Thanks so much for joining me this week, and I hope you will check out the process videos.
I am so happy to be bringing you another two layouts I created using the Felicity Jane "London" kit! I was quite busy this past week with the kiddies home from school, but luckily, I was home too! One of the perks of working at school!
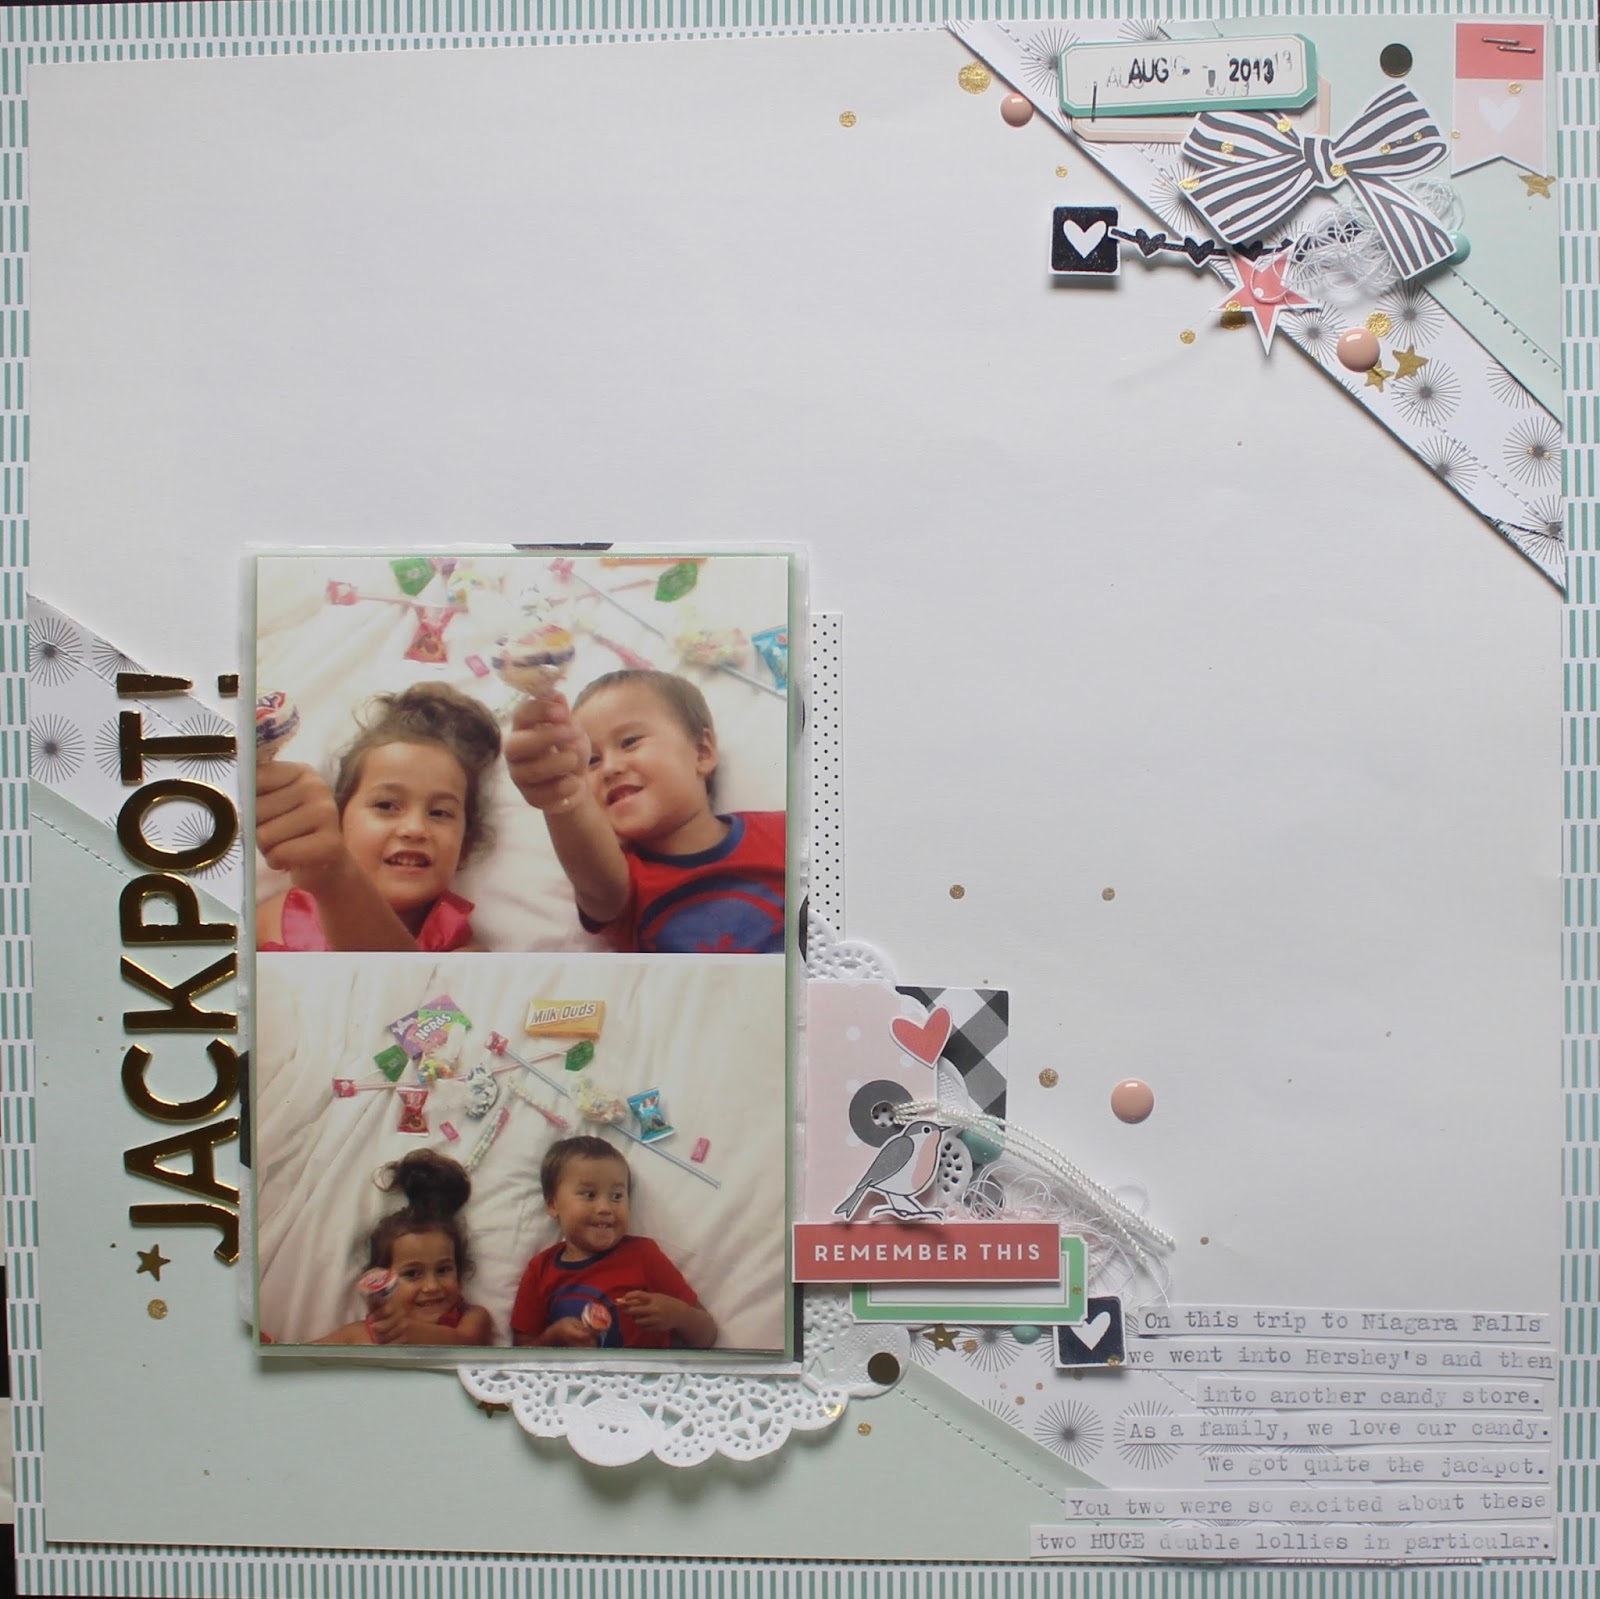
I'm sure most, if not all parents think they have the greatest children ever, but believe me I really do. This first layout is basically documenting the relationship they have and how wonderful they are together. My kids are about 26 months apart they absolutely get along fabulously. Yes they once in a while have a little spat but its usually as a result of one of them not wanting to play at that moment with the other. My daughter, who is the oldest is an absolutely great big sister. She's always so helpful and definitely looks after her little brother. I even have photos (an old old old layout I created) of her as she helped change his diapers! My son, obviously the younger also looks after his sister and is always a sweet gentleman!
Wow, I am just gushing, but hey, proud mama here!
Anyhow, here is my layout:
One of my favourite elements included in the kit were the enamel heart and star shapes. I didn't use the stars here but the hearts were just perfect.
Since I was documenting the relationship between these cuties and the love they have for each other, I came up with the title "Love this Love." I used the chipboard alphas for one Love and the cut apart sticker Love for the other. I didn't use this one as a sticker, just left it on the backing sheet and instead adhered it with some scotch quick dry and foam squares.
I used my typewriter to include the word "this" in the centre. I left it small since I didn't want to detract from the emphasis on love.
I just love these colours together! The London kit was perfect as a mixed girly/boyish layout! And hey look! No tulle this time... I miss it though.
For my second layout, I wanted to focus on how to use up my scraps that were quickly collecting in my kit. I ended up cutting my photos into approximately 2x3 rectangles. I cut various scrap pieces of papers to the same size and used them to layer under my photos as well as part of the grid. I went for a brick wall type layout.
This was also perfect for using up the little embellishments that I hadn't gotten the chance to use yet, and the ones I couldn't see my self using up. I'm not usually one to use the colour yellow on my layouts, or even to incorporate more than a few different colours, but all of these tiny hits of brightness here and there were perfect!
For this layout, I wanted to document the silliness that is my little family, and our inability to take a decent family selfie. As my journalling states, whenever I try to take a family selfie, either someone is making a silly face, looking in the wrong direction or is being cut off my the camera. In some instances it could be a combination of all those things!
Even though these photos aren't perfect, I loved putting them on a layout. They are great in showing how much fun we have together, even during those frustrating times when I am trying to get the perfect photo! Lets not get caught up in getting the perfect photo and just capture those moments when we are the way we are!
Thanks so much for making it all the way to the end of this blog post. I commend you for sticking it through!
If you'd like to see more have a look at the process videos posted on our YouTube channel!
Thank you so much for looking! Have a great weekend and we hope to see you again next week!
Hello Happy Scrappy Friends!!! I'm so excited today for this post since it is my first ever layout using any of the Felicity Jane kits. I just started my subscription, and it was quite the process waiting for my kit to arrive. First, I constantly checked the tracking, and was super excited when I saw it had been delivered. I was in Jamaica and almost ran home jumping to open my kit. Buuuuuuuttttttttttttt....... When I got home, it wasn't there! :( I waited until the next day to check the mail, went to the post office and it wasn't there either! I had to wait until Tuesday, since Monday was a holiday (what a long weekend it was) to check the mail again. Finally it was there!!! I got home and busily got to work cutting and planning on which photo to use. Next problem, my photo printer stopped working! Boo-hoo-hoo! But no fear, I have a lot of photos printed from years ago that I decided on instead. Here is my layout! It was so easy to create since the products are so gorgeous! I used the Felicity Jane, London Kit from February.
I stuck to only using the kit, except for some enamel dots, a doily, and Gold and Black Heidi Swapp Colour Shine! I even used the tag that came with my kit... the one that says Hello Lovely! How perfect! I love all those sweet little touches.
The floral pattern included in the cut apart sheet was just the perfect touch and size to cover part of the packaging I used under the photo. The black and white scallop came from the chipboard package but had "Made In America" printed on the middle. I tried a label but felt it was too stark.
I had so much fun with this layout and am excited to bring you another next week!
Please have a look at the process video. Let me know what you think. Do you subscribe to the kits? Do you subscribe to any other kits?
Hope you all had a great week and have a wonderful weekend!
Hi Everyone! Thanks so much for joining me on this beautiful day (very sunny weather for this time of year in Canada). I created this layout at the Crop 4 the Cure that I attended a few weekends ago. I used the Arendal Studio Calico Kit from January 2016.
At the crop, Sassy Scrapping had an amazing 50/50 draw. The prize was 50% of the total raise through the purchase of her squares, to spend at her store! I always say "I never win anything" but this time was different! I won $120 worth of products! She had so much to chose from that I had to make a few trips throughout the night. The thickets I used for the title were not part of the kit but rather part of the products I won. The washi tape I used under the title was also part of the products I won. It is by Little B.
This time, much like last time, I used tulle. I just love the beautiful texture, and softness it gives. I stitched that on, and thought I wanted to stitch through the thickets but I felt it would be too much, it's also why I didn't stitch along the border of the entire layout.
I used the chipboard frames and die cut pieces from the kit to layer under my photos. I kept within the peach, teal, cream and mint colours. The geometric heart was just adorable and I and to use it.
The bow clip was part of my stash and I now can't even remember where it came from! So sorry, but it is quite adorable! I also used the enamel dots from my stash that I purchased at Michaels, as well as my gold Heidi Swapp Colour Shine. I just can't seem to leave it off a layout recently! That is basically it for this layout. You can view the process video below.
As you might see at the start of the video, I am trying to refer to a sketch but don't end up sticking with it as I felt the photos were too big. Anyhow, the layout seemed to come together naturally, and easily. It's amazing how it happens when you limit yourself to the amount of products you are using.
I used to separate my kits into my stash but I just became too overwhelmed trying to choose elements to coordinate. I have since learned to store my kits as they arrive and only then add to my stash once they start to get a bit sparse.
Hope you are all having a great week and have an even better weekend! See you next week!
This picture was taken the same after we left the hospital and my mother in law came to visit.
All big sister wanted to do was hold him and not let him go.
I was drawn to gold, in the project for life kit that I have, but I did not want this to be a gold and black so I came accross my sisters Paper co. paper that had the pink and teal and I thought how perfect for this layout.
I used a doilie, the paper clip embelishment and the washi tape. This was the first time that I used the washi tape. I was never able to find the right layout to use it. I think that I found a good layout to use it on. What do you think?
.
As you can see during the process I changed the green to more of a teal that coordinated better with the paper pack.
What I used:
*Project Life - Be Fearless
*A paper co. - Hello Forever
*Chalk Studio - Rhonna Farrer and Mme
*My Minds Eye, Enamel Shapes - On Trend
*Close to my Heart - Lagoon Ink
If you have any questions or just want to say HI.. Make sure to post in the comment section below!!!
If scraplift this layout or any of our other layouts or cards please share them with us, by Tagging us in INSTA #3scrappysisters or post in the comment section in our BLOG!!!
This is the completed project, have great week!!!!
Follow us on I N S T A G R A M :
http://instagram.com/3scrappysisters
I am so sorry that I am posting so incredibly late on the blog, to be honest Imelda is the one that keeps up with this and she normally makes the post when it slips my mind. She is now away on a little snowboarding trip so its up to me to get this week going.
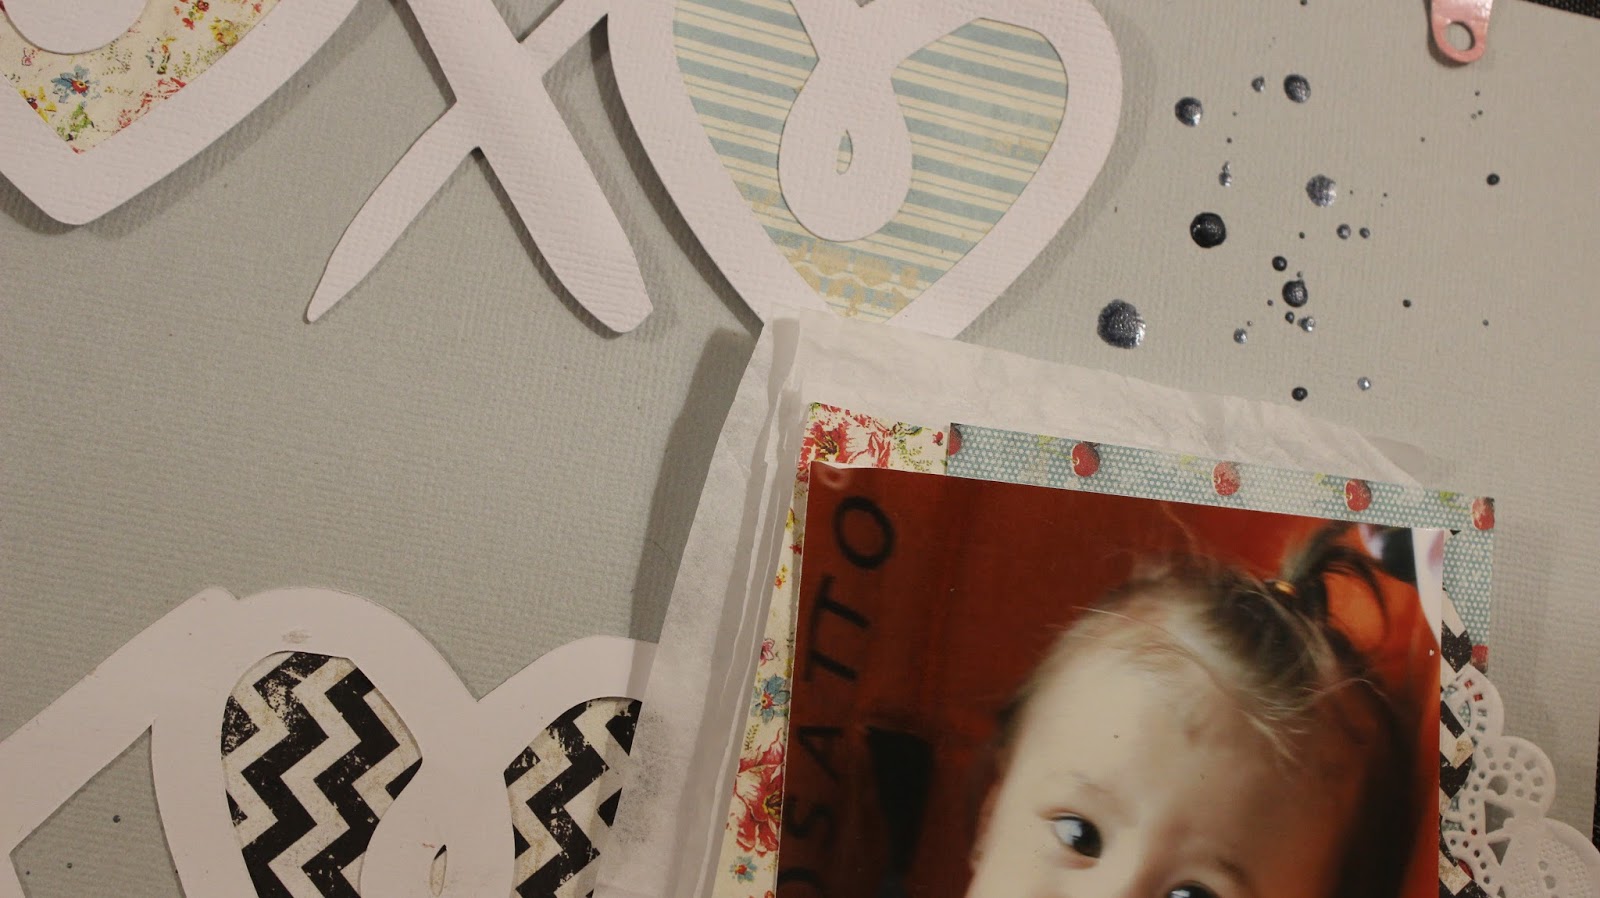
For some time now I have been on Pinterest just browsing and looking at layouts to get some ideas of what colors to pair with orange. I came accross a layout on that I really liked and thought to myself just go with it. They used the XOXO and that is what stood out when I seen the layout....So naturally I decided to do one of my own. I used my sisters Shiloutte and cut out the XOXO in white cardstock,
and the background is a faint greyish blue cardstock. the the patterend paper well, if you don't know me already I am all about using my scrap bin. I also used tissue paper, and I can thank IMELDA for that, she uses alot more mixed media than I do and just watching her create is awesome!!!!!!
This picture is of my daughter when we were on a cruise and she was sitting in the orange stroller and just those eyes.... how can you not make a layout just for this picture!!!
I hope that you like it as much as I do, and if you have any questions or just want to say HI.. Make sure to leave a comment below!!!
If you create this layout or any of our other layouts or cards please share them with us, by Tagging us in INSTA #3scrappysisters or post in the comment section in our BLOG!!!
You can watch the video here....
What I used for this layout is:
* Layout Idea found on pinterest
*Tattered Angels - Glimmer Glaze - Sassy Silver
*Sticker Photo Squares
*Dreamy - white Sugar Dots - bought at Micheals
*Doilie
*Orange Button
*White thread
*Stazon - Jet Black
*Studio Calico - One Little Bird - Stamp set - 'Obsessed'
Hello friends of the scrapbooking world! Hope all is well with everyone and that you are having a fabulous week! I am very excited for the coming weeks as many new things are happening. While in Jamaica I received an email from the school board letting me know that I am now a substitute teacher! I attended my orientation and my start date is February 21st! Very excited lady over here! Also, this past weekend I attended the Crop 4 The Cure in Oakville. This is an amazing 24 hour crop event to raise money to fight Cancer. I attended with my mom and sisters, after about 14 hours the giggles start to take over. It was great to get together and have some creative fun! Here is the first layout I created this weekend.
I used the Studio Calico kit Lollipop Guild. I loved the colours and wintery feel of the vellum shapes. The majority of the kit was red and pink but I was able to take the blue and grey accents and make them the focus. I love the way I was able to reverse the colour focus.
I started with a white sheet of paper (from my stash) and used a star stencil with some clear texture paste. I love this paste since it has a larger grit which looks similar to glitter.
Next I cut my photos down to 2x2 and matted them first on black then white card stock. I have been quite obsessed lately with using tulle in my layouts and so I just had to use it again. I layered some behind my photos and used the blue pattern paper as a shelf.
Next I used the beautiful vellum shapes to create the base for my embellishment clusters. Again, I love the tulle and felt that layering the brighter colours under it gave a softer feel. I then added some of the awesome enamel stars - I love the grey and mint colours - and some Heidi Swapp colour shine splatters in black.
I tried to adhere the rubber stars with hot glue but they just fell off so I had to opt for some wet glue. Lastly, I couldn't decide on a title, I really wanted to use the gold alphas that were included in the kit but felt they were just too big. The "Enjoy" epoxy sticker was just perfect!! Thanks for visiting today! Please let me know how you are doing. Do you have a better method of attaching rubber embellishments? Do you ever use tulle in your pages? I'd love to see what you come up with. Hope you enjoy the process video!
Hi Everyone! Well I'm back after a one week (unintentional) hiatus. The hubs and I went to Negril Jamaica for a destination wedding. It was absolutely amazing! Even more so since we live in Canada and have been having a cold cold winter! I had this layout completed and filmed before we left for Jamaica and fully intended on recording the voiceover and posting last Thursday. I underestimated how much of a pull the sun has on me and so I didn't get the opportunity to get anything done. My laptop spent a lonely week inside a safe. Anyhow, I'm back now and here is the post! I began with the Studio Calico June 2015 Kit Galileo in mind and wanted to scrap two, maybe three of the photos that I used. I am still getting the hang of printing on my Canon Selphy - sometimes they come out too big, sometimes too small. This time, the photos were too small to cut apart and so I decided I would just use the collage as is - with 7 photos!!! I printed the photos in colour, but didn't like the combination of the colours with the elements in the Galileo kit, so I turned to the August 2015 SC Kit Pop Art. The colours worked out much better.
The layout was an entry to the Scrapbook.com January 2016 Round Robin Challenge. I was on Team 4 week 3. The layout before me had the focus in a circle and so I ran with that. I used the acetate circles included in the kit. I sewed over the circles with my sewing machine and added some splatters and sequins. I'm not crazy about the background paper that I matted my white sheet on but it is done. I might have to go back and change it later.
Have any of you ever gone back and changed a layout after you considered it to be done? I am seriously considering it for this one.
This weekend my sisters and I are going to a 24 hour all night crop and so I hope to have lots of material to post in the coming weeks! Stay tuned. Hope you all have a great weekend!!
Hi Everyone! Things have been quite busy here since the hubby and I are traveling to Jamaica for a destination wedding this week! 💕 Can't wait to relax and enjoy some time in the sun with friends. Canada is having some typical winter weather, Tuesday school buses were even cancelled. I am entering the Stuck? Sketches challenge for January. You can see the challenge here. I was super inspired by not only the sketch but all the featured layouts created by the design team and the featured layouts. Here is the sketch.
I chose to scrapbook some photos of my daughter and I. We were out for lunch at a local Mexican restaurant. yum!!!
I used mostly the November 2014 Studio Calico Kit 'Park Ave' and other elements from my stash. The inspiration for the layout, other than the photos, were the coloured transparency pieces. I loved the mix of pink and purple and I really loved the chipboard diamonds with the touches of gold.
The inspiration for the title comes directly from my daughter. It is actually a something she said that stuck with me and absolutely personifies her personality and positivity. We were hanging out one day and she was in an exceptionally good mood. She was acting quite silly and so I asked her what was up. She proceeded to answer "I'm just so happy. I'm happy as a sparkle!" Since then, I have wanted to use this as a title for a layout of her sweet happy face!
Loved the soft touch of lace, stitching and tulle. The pink, purple and gold contrasted against the black and white, I think, worked beautifully!
I had so much fun creating this layout and hope that you will check out the process video.
Thank you so much for taking the time to visit! Hope you enjoy the video and subscribe to our channel.